Description
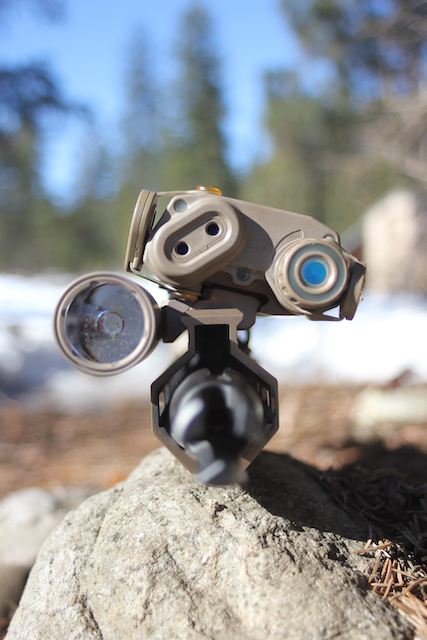
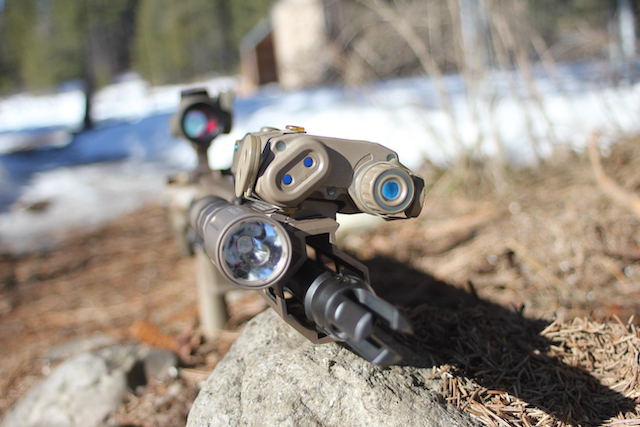
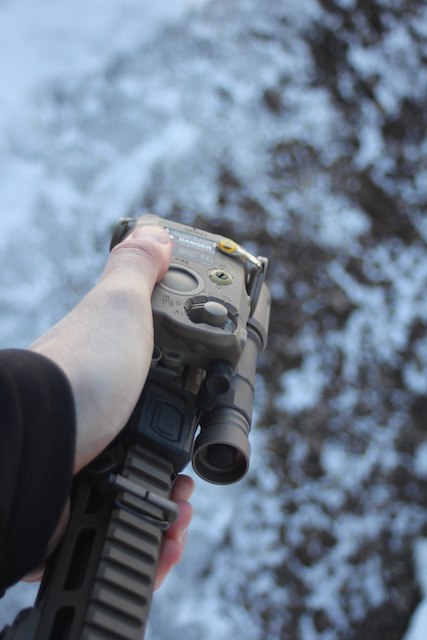
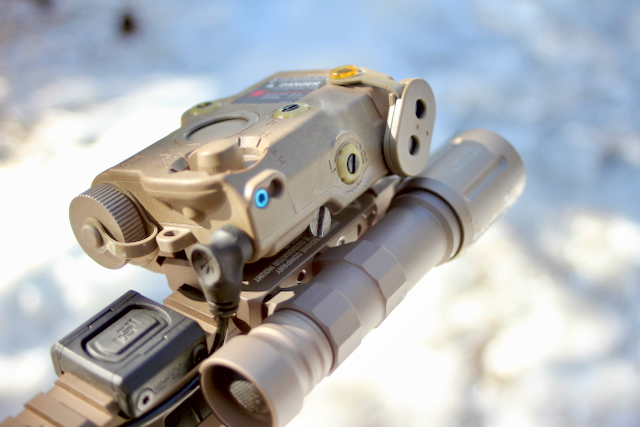
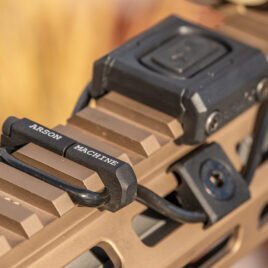
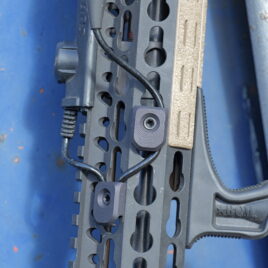
Let’s just get straight to business on this one. This mount takes your standard ATPIAL AN/PEQ-15 or ATPIAL-C, cants it a little bit and shifts it to the shooters left just enough. This allows for several things to happen: First, and probably most important, it puts the IR Laser Designator directly over the centerline of the barrel. No more horizontal offset, no more compensating for parallel zero or converging zero. Hold overs become less of an issue and your accuracy potential is increased. The second thing that this mount does is allows you to mount a scout pattern illumination device (White light or otherwise), directly to the side of the laser mount. It also tucks in your scout light nicely like those that make a big deal about their pronouns. For folks with 2cell/18650 sized lights there are 2 mounting options. Sadly, for the 1cell/18350 crowd, you can only run those lights in the forward mounting position. Third, and probably the least important to most: After adding a scout light to our ATPIAL AN/PEQ-15 Centerline mount and looking from the shooter’s right to left, the whole setup has an almost Zen like symmetry. OCD Satisfaction.
Now to the THINGS YOU NEED TO KNOW before ordering:
1.) For your passive/daytime optic you need a mount that is 1.93″ tall or higher. This mount does put the ATPIAL AN/PEQ-15 at roughly 0.500″ (at its highest point) above the standard mount height of the laser. On a 1.93″ high mount the laser will be visible in the lower 1/3 of the optic but will not occlude the dot/reticle, allowing for passive aiming. If this is an issue for you or you find it in opposition to your visual aesthetics, we would recommend getting the tallest mount you can. There are several quality options on the market that are above 2″ in height and would yield maximum field of view through your sight window.
2.) If you are running a 1cell/18350 length scout style light you can only run it in the forward most mounting position. If you try to run it in the rearward position, the head of the light will hit the mount and things will not go so well when you tighten it down. Some lights will look like they almost clear, but they won’t, no matter how hard you try. Once tightened down, the mount will put stress into the light head and make it impossible to unscrew the head to change batteries and could potentially damage to the light. Just don’t do it.
3.) Lasers are dangerous. Don’t be stupid. Seriously. We strongly recommend removing the battery from your laser device prior to installation. We are not responsible for any damage you may do to yourself, others, your cat, etc if you mishandle your laser during or after installation.
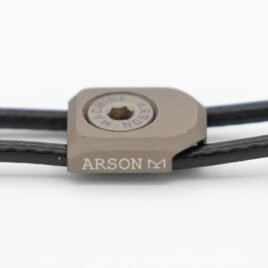
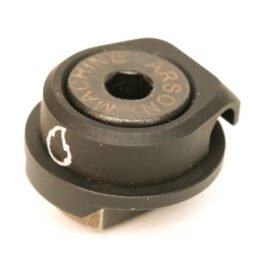
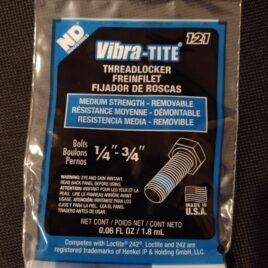
4.) There is a specific order of operations for the installation of this mount. The scout light (if one is being used) must be mounted first. It is mounted on the shooter’s right (ejection port side of your standard AR15) using the supplied screws and a 3/32 hex wrench (user supplied). The 3/32″ hex wrench must be a square/flat end wrench. Ball end Hex wrenches can destroy the hex interface on the screws and you don’t want that, trust us. You MUST completely remove the clamp (the part with the laser etching) from the Mount Body to be able to access the screws properly. You might be able to do it with out removing the clamp but its a pain and horribly inefficient. We recommend using blue/medium strength thread locker on all screws in this mount. Follow the manufacturers recommendations for torque specs on the screws for the scout light body. The next step is to install the laser mount on your firearm in its desired location. Torque the mount screws to a MAXIMUM of 10in-lbs using a 9/64 hex wrench (also user supplied). Notice we said maximum. Use thread locker here as well, it bears repeating. Last: install the laser to the mount itself. Torque the laser mounting screw to the manufacturer’s recommended specification.
5.) Back up sights WILL NOT work with this mount. Due to the height added to the laser to bring the IR laser over the barrel centerline, most back up sights would be obscured. Also if you were to place a back up front sight infront of the laser it would block the IR designator due to it being placed over the centerline of the barrel.
All orders that are cancelled or returned are subject to a 20% restocking fee




Reviews
There are no reviews yet.